One of the first steps creating a race is to set up topics, which form the individual questions candidates will answer.
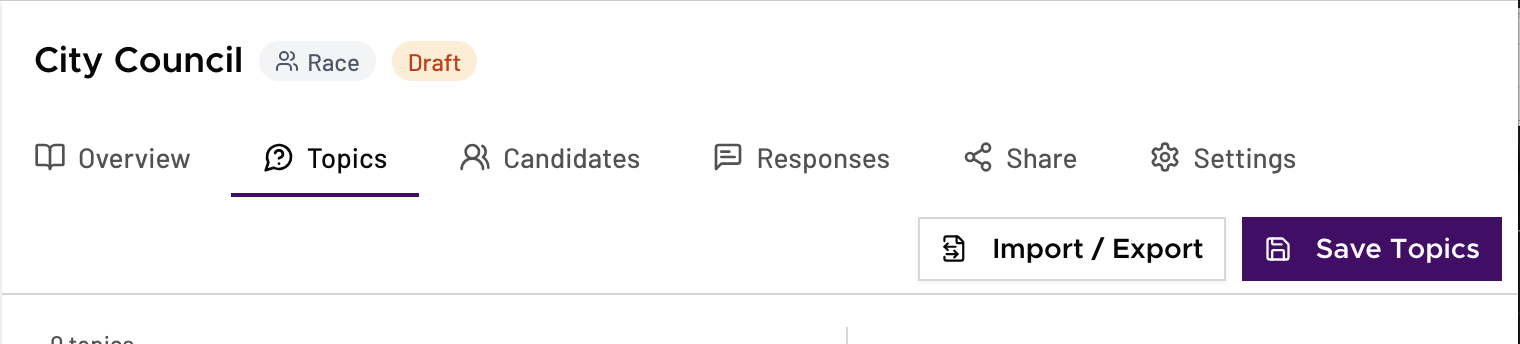
To set up topics for a race, navigate to the race and click on the “Topics” tab.
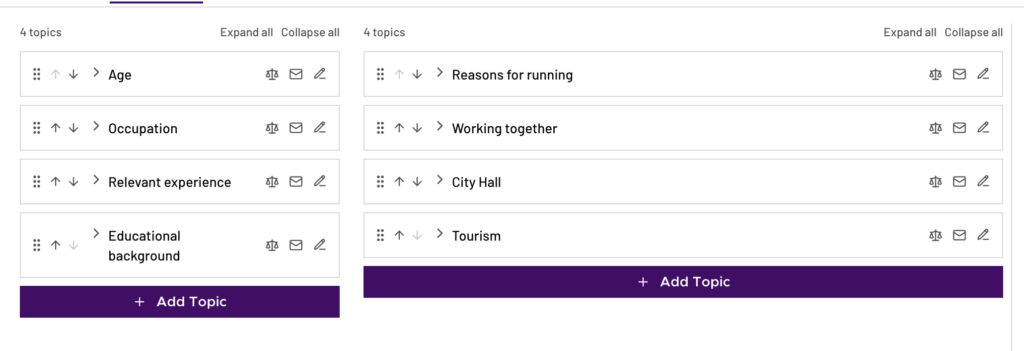
The topic setup screen has two columns. Typically, shorter topics go in the left column (e.g., quick yes/no questions or basic candidate information) and longer questions go on the right.
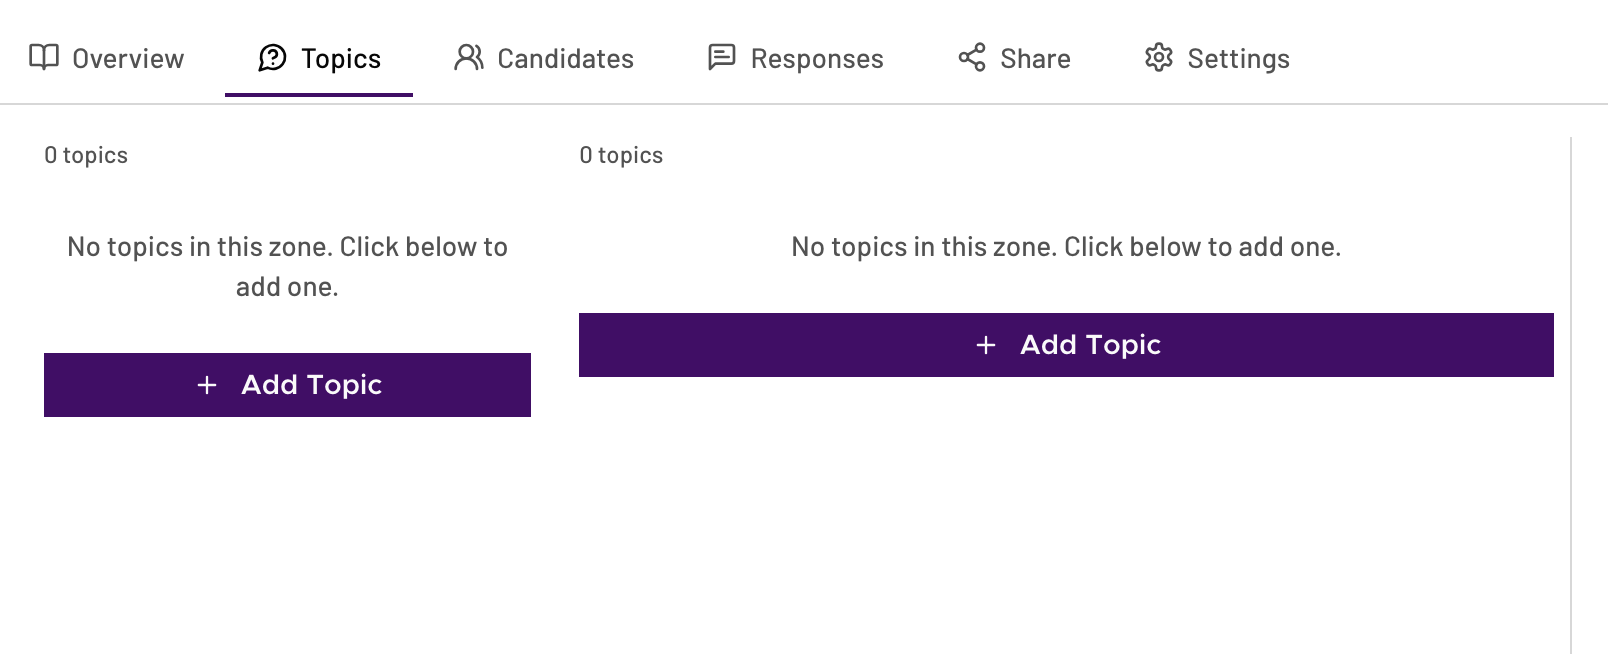
Click “Add topic” in the appropriate column to get started.
Topic options
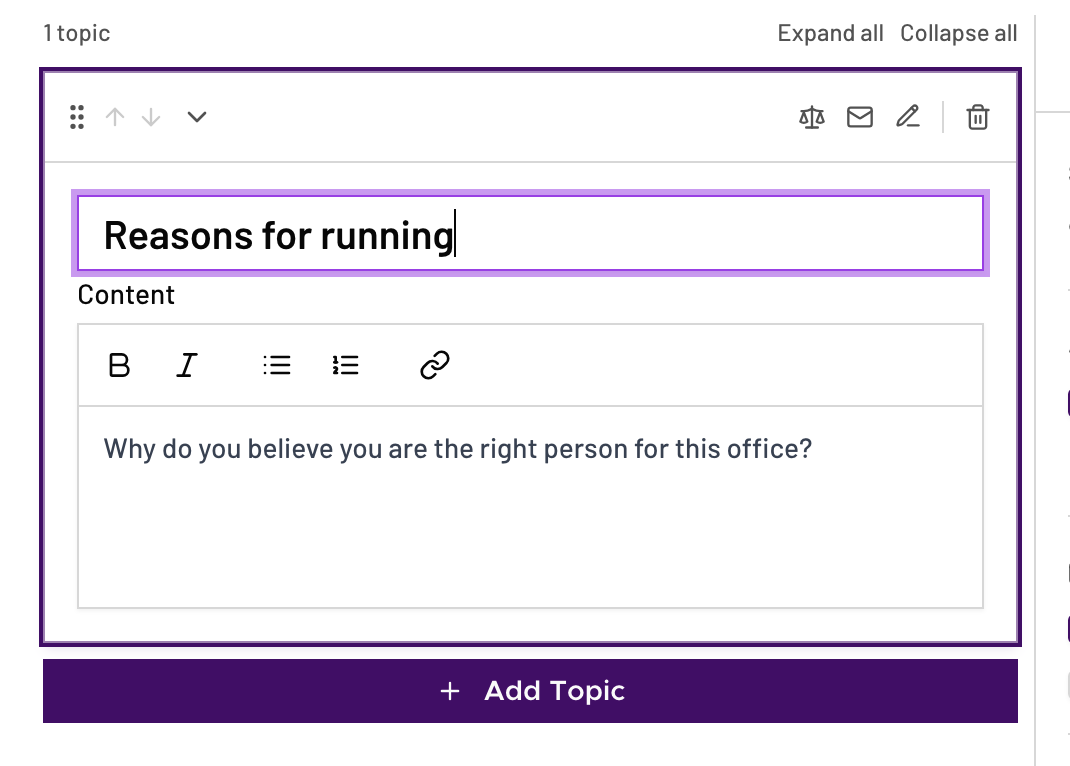
Each topic has a content section, and a settings sidebar.
Topic content
In the content section, you can add a title. This should be a few words at most and serves as a headline. For more details, use the optional large text box below. This is usually where the full text of a question candidates answer will go. Short questions or basic information often don’t use this larger field (“age”, “educational background”, etc.).
Topic settings
The options in the sidebar at the bottom control how how candidates can respond in your survey and whether readers can compare this answer across candidates in your embed.
Slug
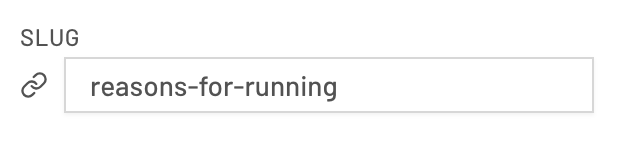
This sets the url for this topic in your embed.
Comparison
These settings let you control whether readers can compare this topic across candidates, and how that comparison appears in your embed.
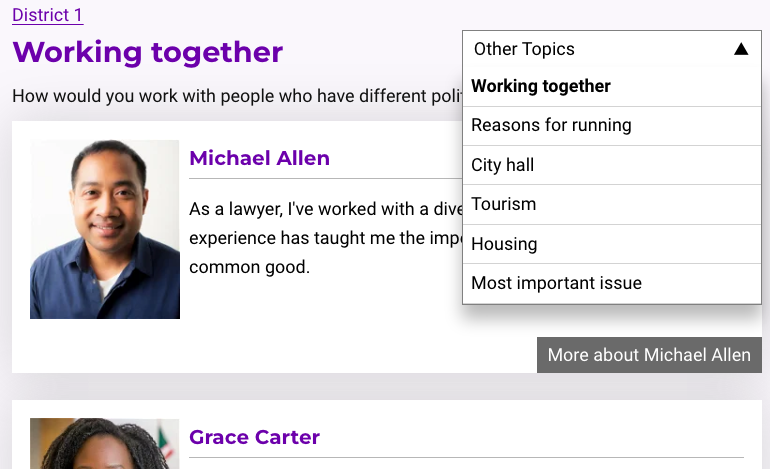
- Create comparison page makes a topic page showing each candidate’s response to that topic. If this box is not checked, there will be no way to compare candidates for this topic.
- Feature comparison controls how prominently that comparison is shown. If it is checked, the topic will show up in the “other topics” dropdown to switch between topic comparisons and a button to the comparison page will be shown on that topic in candidate profiles.

Arranging topics
You can expand and collapse all topics, change the order one at a time with the arrows in the left-hand gray bar, or click and drag the dotted bar to the left of a topic to change the order or move topics between columns.