The “Candidates” tab is where you enter and structure the list of candidates. This can usually be completed after the candidates have been certified by the relevant election agency. You can also import candidates from a CSV file.
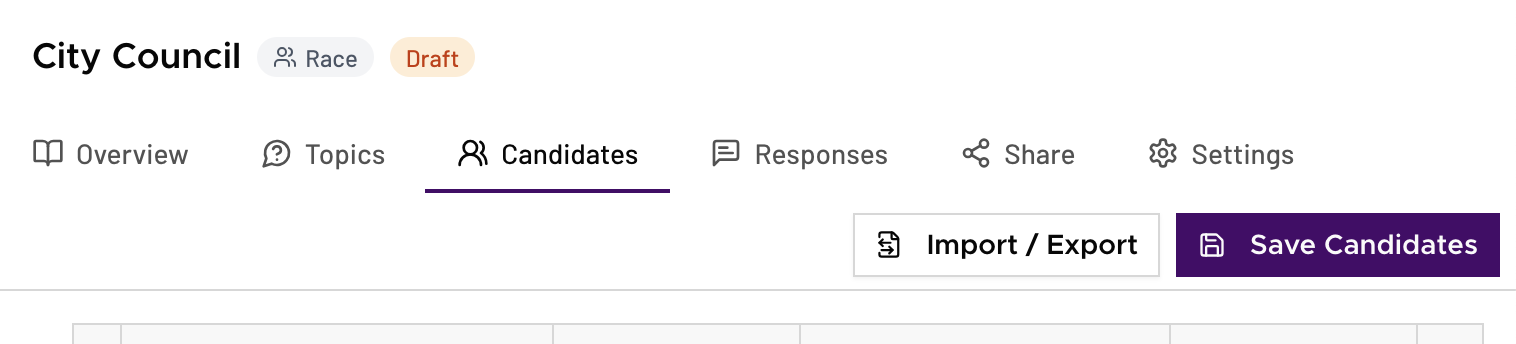
Navigate to the election and race you want to edit. Click on the “Candidates” tab.
Here you can start adding candidates and groups.

About groups and candidates
Groups are typically used for districts or regions within a race (e.g., different city council members are all running for city council, but in different regions of a city). If your race does not have regional or other divisions (such as a statewide governor’s race), there is no need to use groups. You can just add candidates at the top of the list.
Create groups
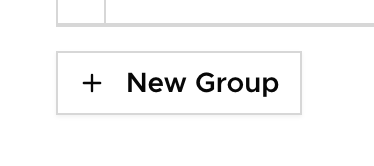
To create a new group, click the “New Group” button near the bottom.
Give your newly created group a name. Optionally, you can click “add-slug” to edit the URL slug (the portion of the URL uniquely identifying this group). Slugs must be unique within each race (you can only use a slug once).

Create candidates
Click into “New candidate” in your new group, add the candidate’s name and press enter.

Once you’ve added a candidate’s name, you can add their email address, edit the URL slug and assign a political party for each candidate if desired (the list of parties can be edited in the “parties” section under the election).
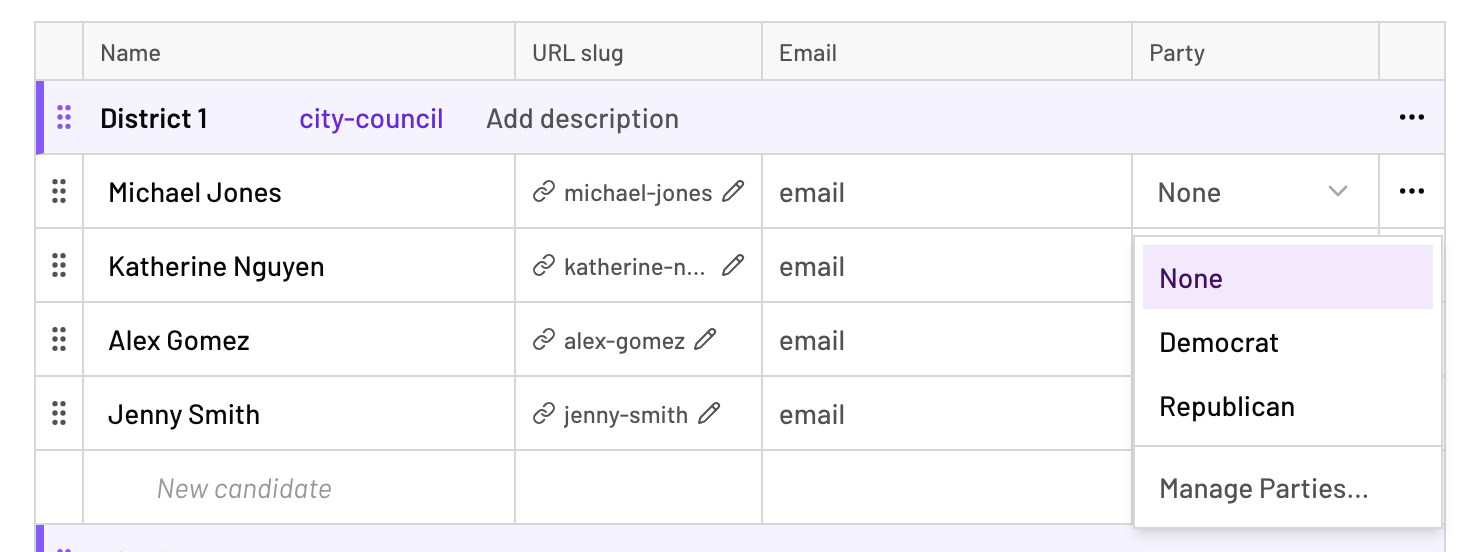
The email address (or addresses) for each candidate are where individual secure links will be sent for candidate surveys if enabled.
Changing candidate order and moving candidates beween groups
To rearrange candidates or groups, click and drag on the dotted bar on the left side of a row, or use the up and down arrows to move them up or down by one slot.
